What is a Gif?
GIFs are a popular way of sharing and consuming content. They are typically small, often looping images that can be easily shared across networks like Facebook, Twitter, Tumblr and more. GIFs became mainstream in the early 2000s and are still used heavily by social media users today. They’re an effective way of showcasing something visually in a quick manner.
According to a study from Pew Research Center, almost half of Americans (46 percent) now get their news from social media. Animated GIFs can be created in various ways, including cutting pieces from existing films and then arranging them in a new order, as well as animating photographs or video.
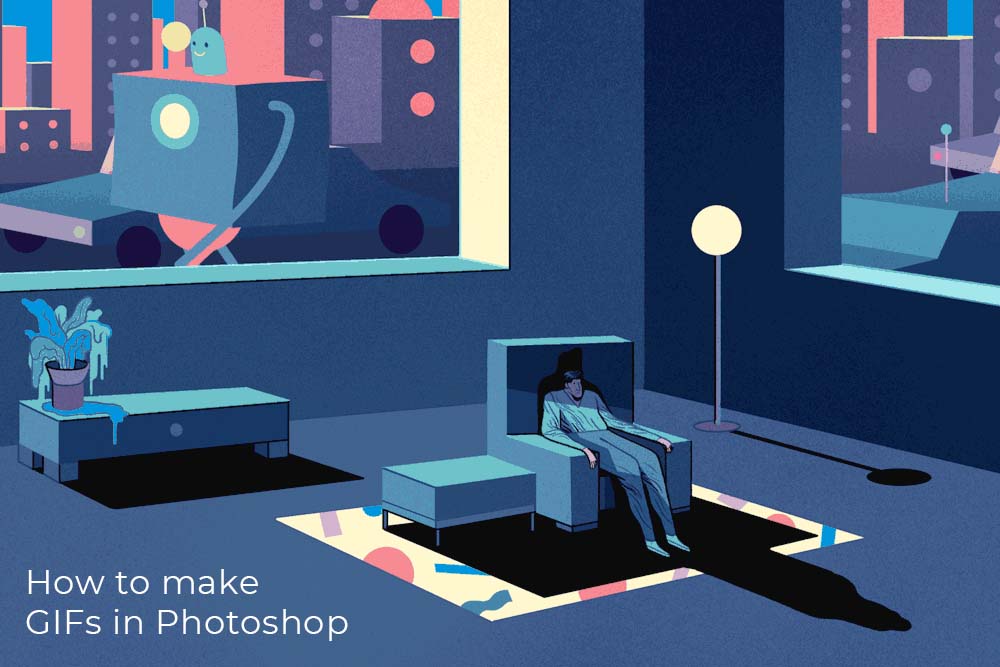
How to make a gif in photoshop?
We showed you how to make a gif in the past in Photoshop, but it’s difficult to remember the steps. That’s why we’ve created this quick guide on how to create your own gif in Photoshop!
Step 1: Load your files into a stack
- Open Adobe Photoshop.
- Click on File > New, make sure the dropdown shows ‘a group of images that you wish to work with’
- Go back to File > Open and navigate to where you saved your images. Make sure they are tiled horizontally, vertically or both
- Drag and drop the individual images into an open space in the document
- Make sure that all your layers are hidden except for one
- On the layer with only one layer visible, click on File > Scripts > Load Files Into Stack From Folder… then navigate to where you saved your files
Step 2: Set up your Timeline
When you have a large gif that you would like to make, it’s important to make sure you have everything timed correctly, so that the gif doesn’t go out of sync.
In order to do this, it’s best to use the timeline feature in Photoshop. This will help you keep track of all the intricate moments in your gif and ensure they are synced up properly.
A common question that people always ask is how they can set up their timeline in photoshop so they can make gifs out of videos. Well, here’s a step by step tutorial on how to do it:
- Place your image on the timeline.
- Draw a line across the timeline to create a looping animation.
- Create your gif by adding layers
Step 3: Set the timings
You can also use the click-and-drag method with the timeline tool. This is done by dragging one corner of your image into another and clicking on the start point and end point.
Step 4: Hide the top layers
- Click on Layer > New Hidden Layer (or press Command + Shift + H)
- Rename that new layer as “Top Layer” and then click on it’s visibility icon () to turn it off
Step 5: Preview the GIF
Adobe Photoshop allows you to preview a GIF before you export it. This makes it easier to make sure the GIF will look exactly how you want it too, or that it’s not going to have too many delays to start with.
- Press Ctrl+J to Preview your GIF.
- Make adjustments to the settings that you want for the GIF and press OK when you are done to save it.
Step 6: Export your GIF
Click on File > Export > Save for Web > GIF and choose the size, quality and frame rate that you want.